Logo animation using Adobe Animate
After I launched my website last week I decided to take on my next challenges: logo animation and video production. This requirement came from my need to have a splash screen which will be shown right before any of my video is played on my YouTube channel. In my opinion having a splash screen makes the brand more memorable and therefore is a great marketing tool for content creators. I also enjoy watching something familiar before getting into the subject matter (kind of like having an appetizer before the main entrée).
Path to animate
My desire to learn something new is what brought me to Animate. Sure I could have relied on something I have used in the past like After Effects to create the same visuals but I went with Animate because I want to challenge myself to become better and keep on learning all the time. Animate can seem a little intimidating at first especially if you have a preconceived idea of what the animation process will look like: manually draw the position of the visuals one frame at a time. This is the traditional frame-by-frame animation which is very time-consuming but is the preferred approach for complex animations because it allows you to achieve high quality and smooth transitions. For this project though I only need simple transitions with easing effects and do not have a need for complex animations.
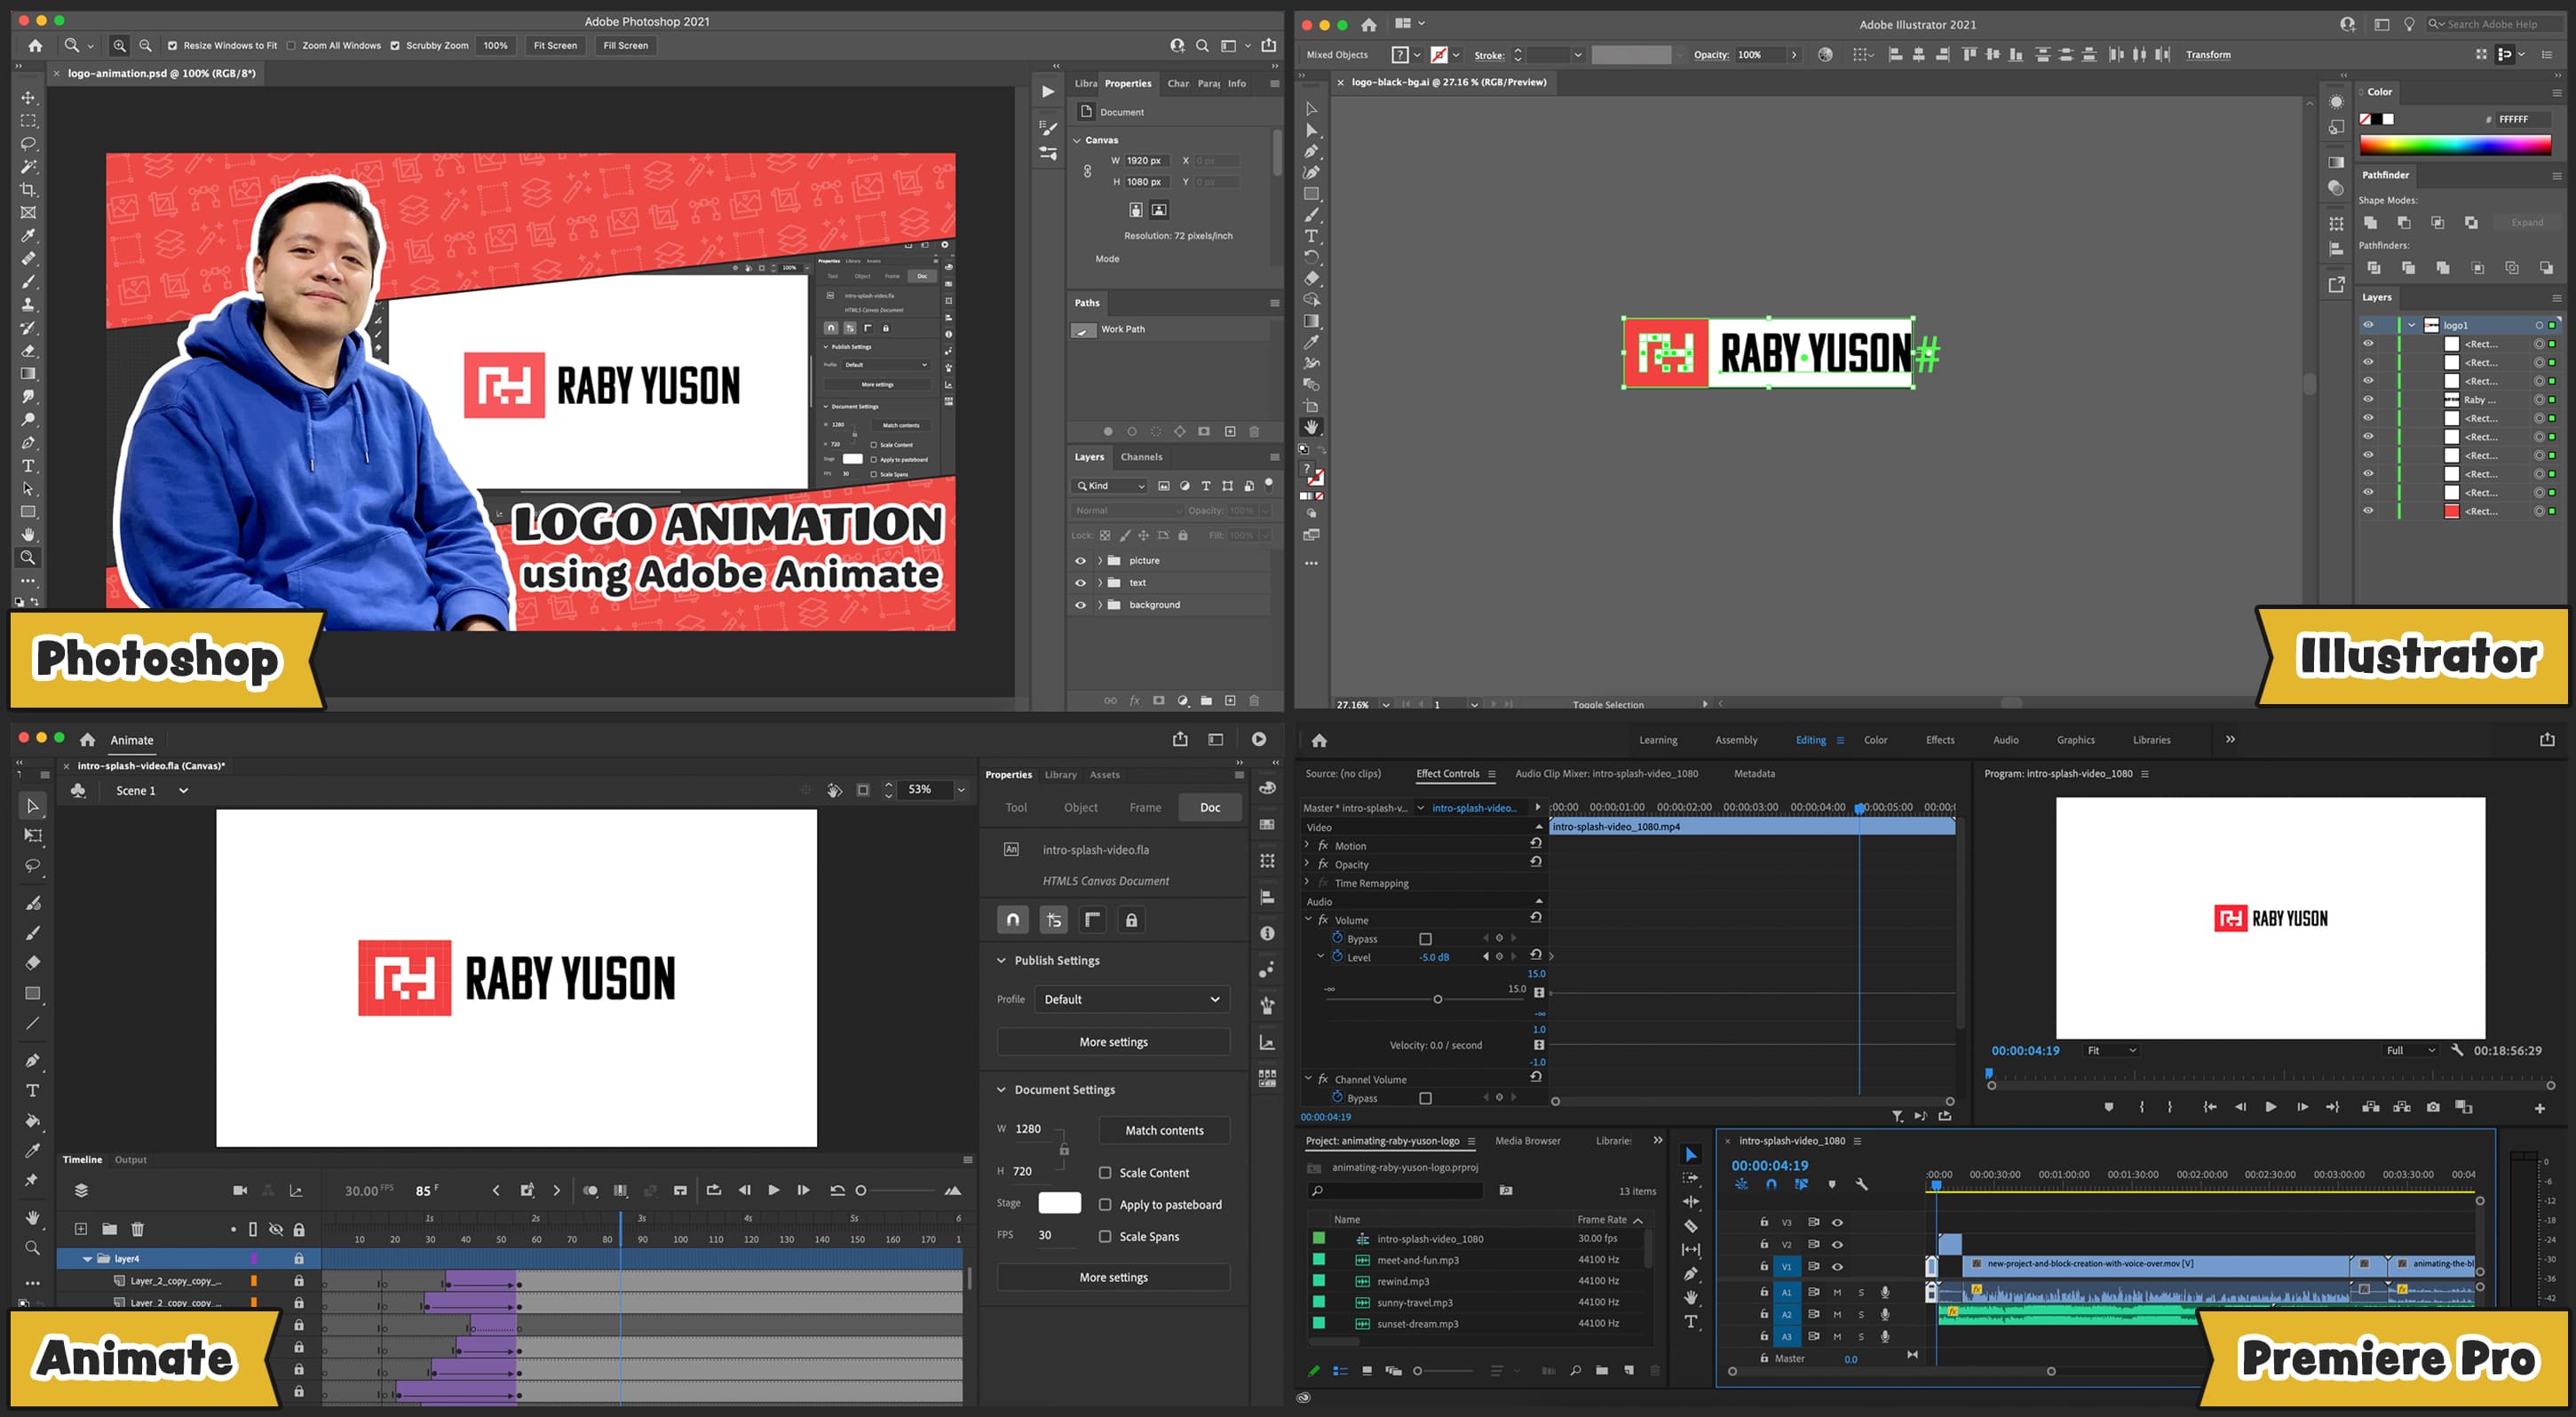
Animate's interface feels like home when I started using it. It shared a lot of similarities with other Adobe softwares including the timeline, media library, properties and scene panels from Premiere Pro and After Effects. It also share similarities with the tools panel from Illustrator and Photoshop. The interface almost looked like a mashup of these different applications.
Interface similarities among different Adobe applications

In my opinion I think Adobe intentionally made their applications share common interface elements to avoid interface fatigue which reduces productivity (happens frequently while working on different assets and switching between applications). It's certainly true for web programming when context switching between the front-end and server-side languages—not really the best development experience. No wonder there was a need for a single programming language capable of doing both task and in recent years Universal Javascript was born of necessity. I'm sure Adobe got it right after they extensively listened to the need of their users which is certainly evident in their software nowadays.
Animation process
The idea of animating my logo came from a brainstorming session last Sunday. During this session I was able to formulate two concepts. The first one consist of individual white blocks and each block were to jump into the red colored background view (#F24141) on top of each other eventually forming the merged letters R and Y. Once the logo icon is formed it will then shrink while the view zooms out and eventually my name will slide from right to left to complete the animation. This first concept is a little more involving because of the number of steps that need to happen to achieve the final result. I was prepared to spend long hours to get it done but it just didn't feel right. It had the element of fun in it but it was not the right theme for the brand I am going after.
First Logo Animation Concept

The second concept that I formulated felt right even during the idea phase so I immediately started working on it. The goal of this concept is to be precise and impactful. The idea starts with the logo icon being composed of blocks (tiny components) and each block would drop on top of each other forming a stack. Once that is done my name will then slide out from left to right to complete the animation. To see it in action watch the video on YouTube or at the top of this page. This concept had all the characteristics of what I would consider an effective splash screen so clearly it was my choice in the end.
Conclusion
Overall I am satisfied with the result. It started from an idea that I kept refining in my mind and it eventually turned into a fully formed visual. The long hours I spent to complete this project that involved learning, designing, development, recording, editing and production were all well worth it for the resulting 6 seconds video clip. Even though the end video is short I am proud of what I was able to accomplish. I hope you enjoy the video. Please leave a comment and subscribe to my YouTube channel.


